There are some situations when we need to import content from RSS feeds to our site. Now you don’t need to import it manually. One can get it on your WordPress site automatically with the help of the WP Automatic plugin. This tool can help in extracting and posting content from any web source including RSS feeds.
Generally, the process of content extracting and posting is simple. But sometimes the RSS feeds are protected with CloudFlare technology. It allows the tool to obtain a CloudFlare page rather than the real feed elements. In such a situation, users may face difficulty in importing content. They may see an error message like:
A feed could not be found at ‘URL of RSS feeds’;

The status code is ‘403’ and content-type is ‘text/html; charset=UTF-8’
To test the fetched output of the website, you can try it by creating a multi-page scraper campaign and selecting the content with the help of a visual selector.

You will get a blocked page.
But don’t worry! We have got you covered here. With some changes in the settings, you will be able to import the content even when the source is protected with high-end technologies like CloudFlare.
How to resolve this issue to import CloudFlare protected RSS feeds to the website?
1. Open the dashboard of the WordPress Automatic plugin.
2. Create a multi-page scrapper campaign and make changes in the setting with the help of REGEX conditions. Add it as <item>.*?<link>(.*?)</link>
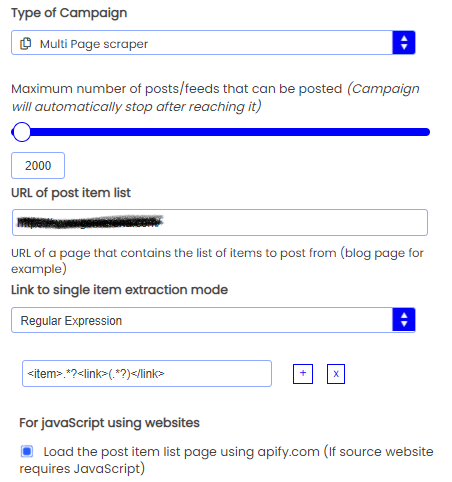
3. Activate APIFY option to get the right output. Also, make sure that you have set up your APIFY token by clicking on the “Settings” option available at the top of the dashboard. If you don’t know how to set it, then check this tutorial – How to generate APIFY token here.
4. If the output of a single post is also a CloudFlare page, then enable the option- “Load the site single pages using APIFY.COM (only if the site requires Javascript)”.
5. Now test the results of the feed. If you get the right post imported as the new post, then you can proceed with other feeds accordingly.
Conclusion
So these were the steps to fetch and post RSS feeds that are protected by CloudFlare. If you have more doubts, then feel free to contact our support team.