Step 1: Just download the file from the official website www.wpautomatic.com. You will get a zip file named “wp-automatic-for-wordpress.zip,” which will be present in the folder – “Downloads”
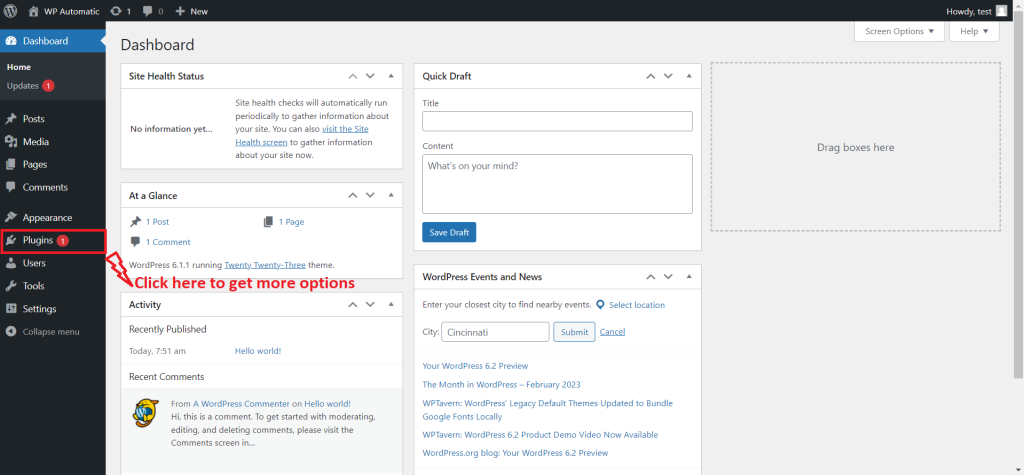
Step 2: Open your WordPress dashboard for integrating the plugin.
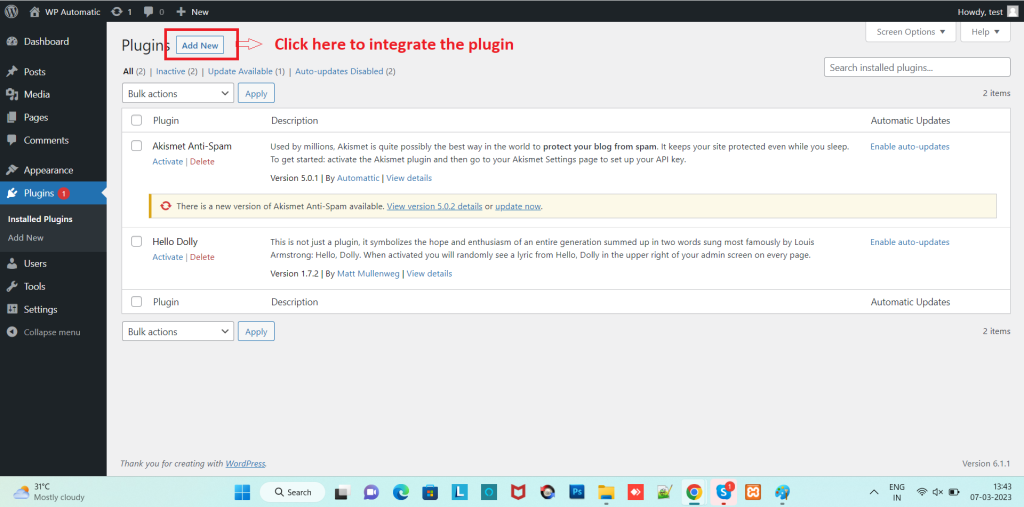
Step 3: Under Plugins options, click on the “Add new” option.
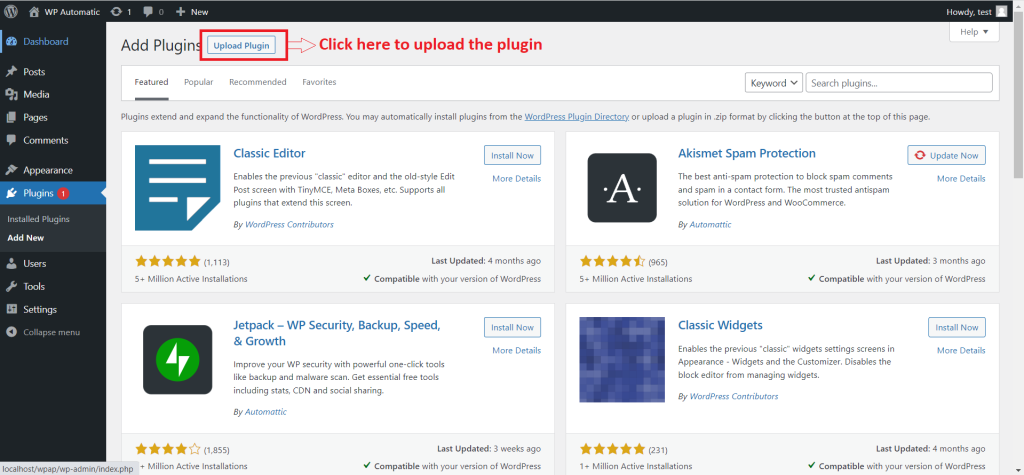
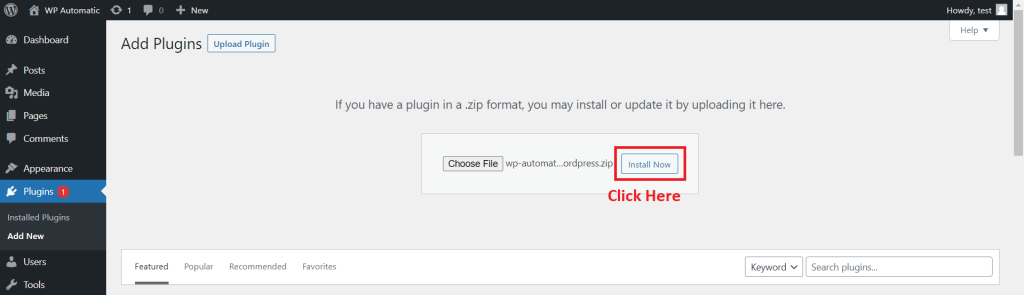
Step 4: On the next screen, hit the “Upload Plugin” option and provide the downloaded plugin file by clicking on the browse button.
Step 5: Once you have uploaded the zip file, click on “install now”
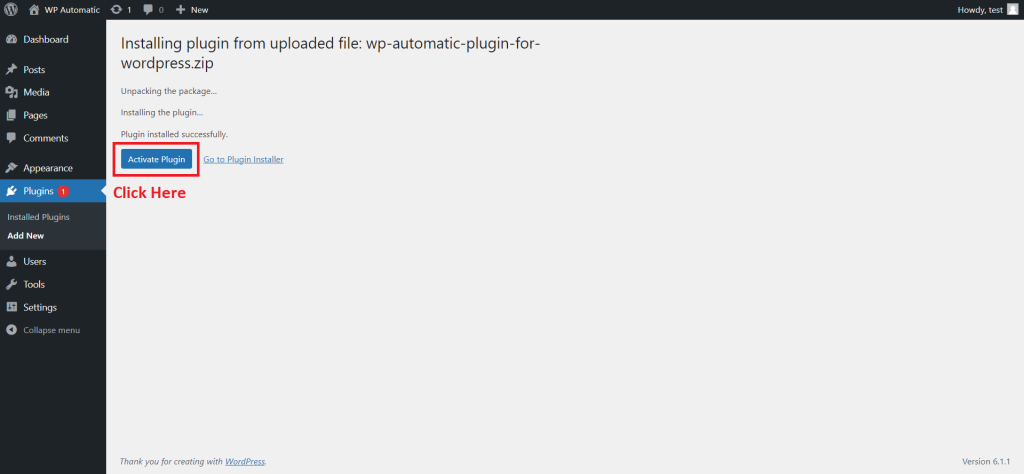
Step 6: Wait for a few seconds for the installation & then click on the “Activate plugin” option
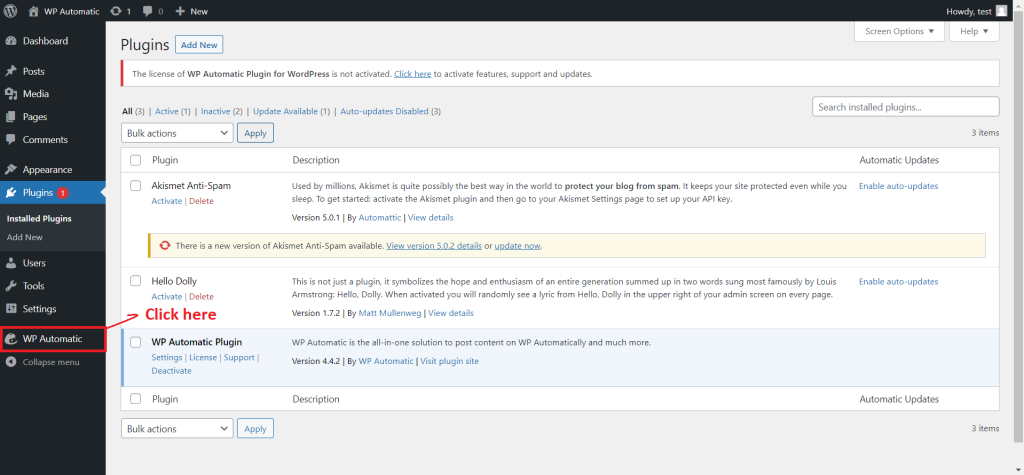
Step 7: Click on the “WP Automatic” option to open the dashboard of the WP Automatic plugin